Sales Order Flow (Outbound Processing)
The following example illustrates how to enter a new sales order using the sample data in the CFXSample database, allocate inventory, pick the items for the order, ship the items.
Order Entry (Sales Orders->Order Entry/Edit tab)
Allocation (Sales Orders->Allocate Orders tab)
Picking (Sales Orders->Confirm Orders tab)
Shipping (Sales Orders->Process Orders tab)
Creating a Quickbooks Invoice (Export->Quickbooks menu)
Creating a Backorder (Sales Orders->Create Back Orders tab)
Order Entry
- On the Sales Orders->Order Entry/Edit tab, press Create New Order.
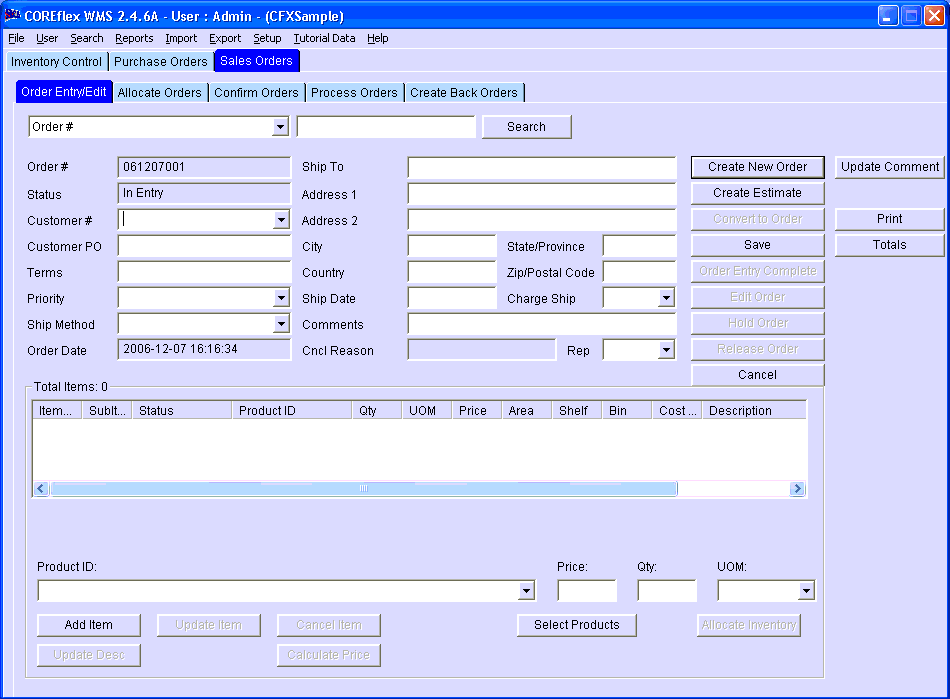
- Select the customer for the sales order from the Customer # drop down, and then hit <tab>. The customer information will automatically populate on the screen.
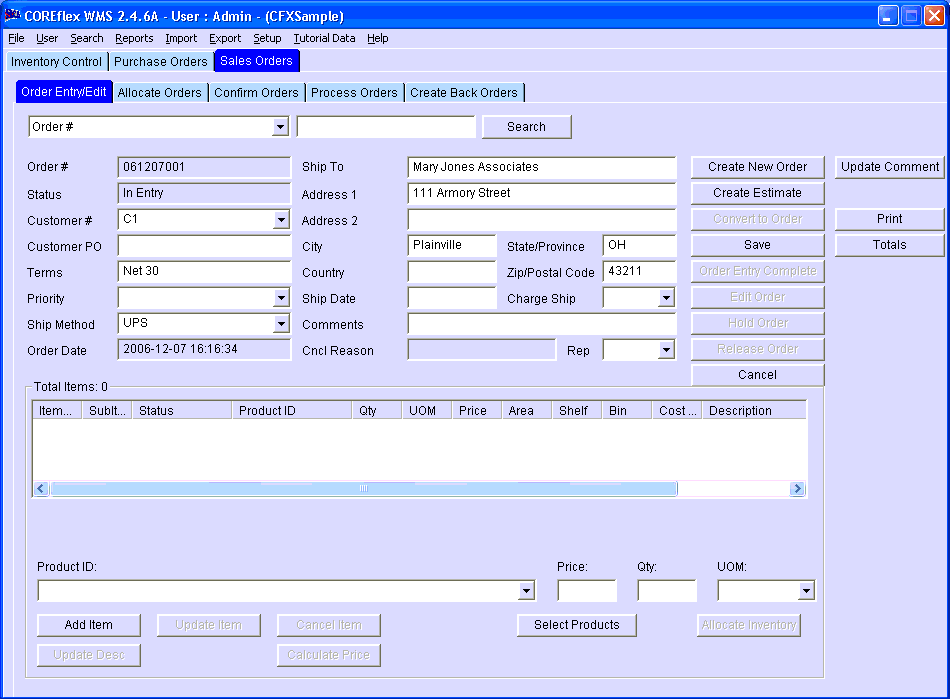
- Enter any additional information such as Customer PO or Comments, and then hit Save. You may also change the ship to information if it differs for this order from the normal ship to for this customer.
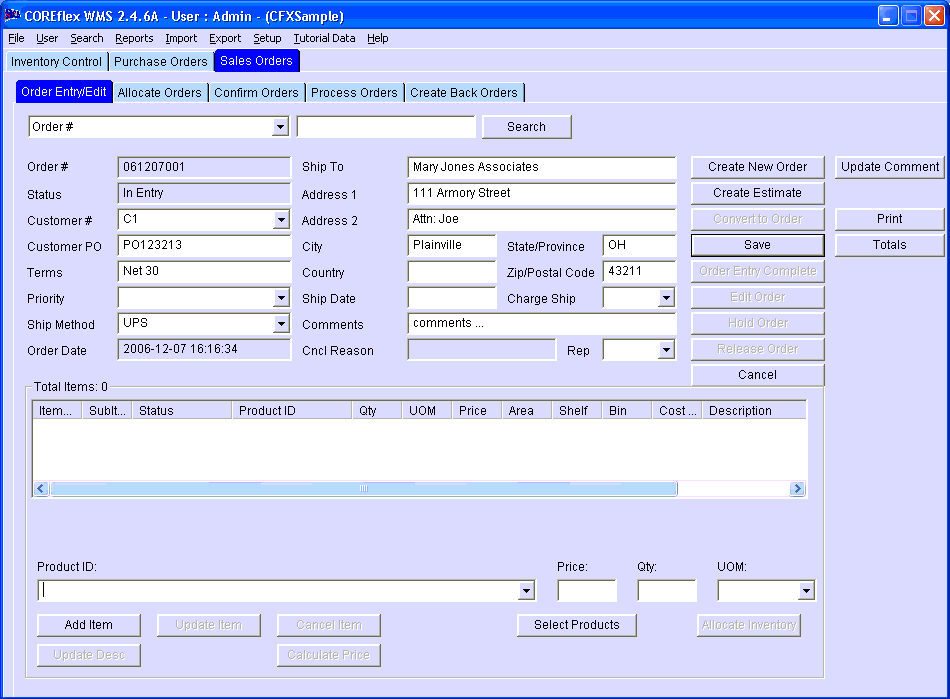
- There are two ways to enter products. In this example, we will use each method once to show the two different ways.
- For the first product, we already know the product id, so we will just enter all the information in the lower portion of the screen. First we enter the product id (P1), and then hit tab. The default price for the product is automatically displayed, and can be changed at this point if there a need to do so.
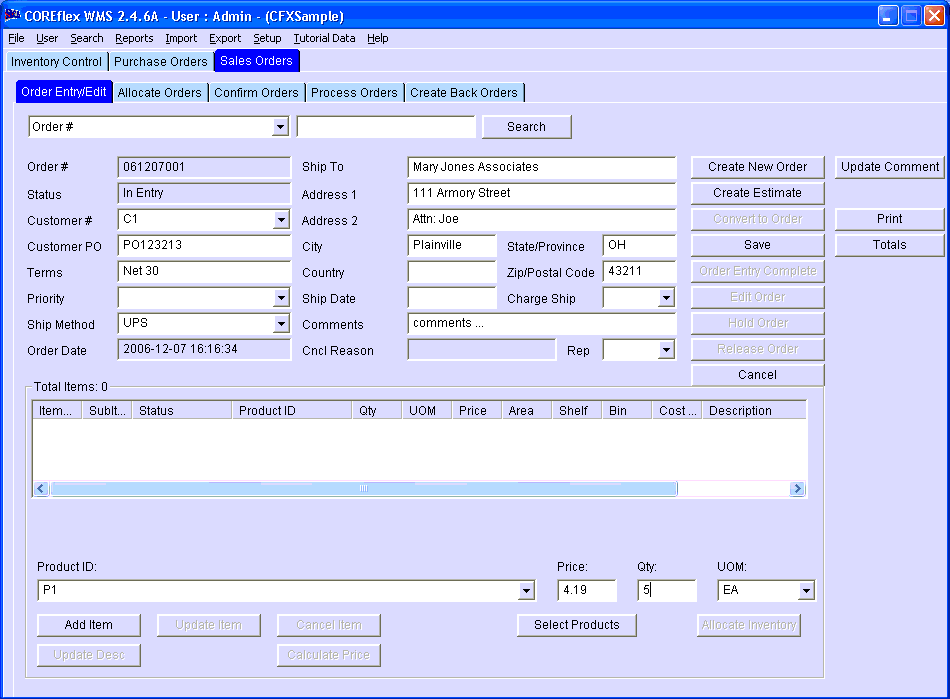
- Press the Add Item button and the item we just enterred is added to the list of items in the center list.
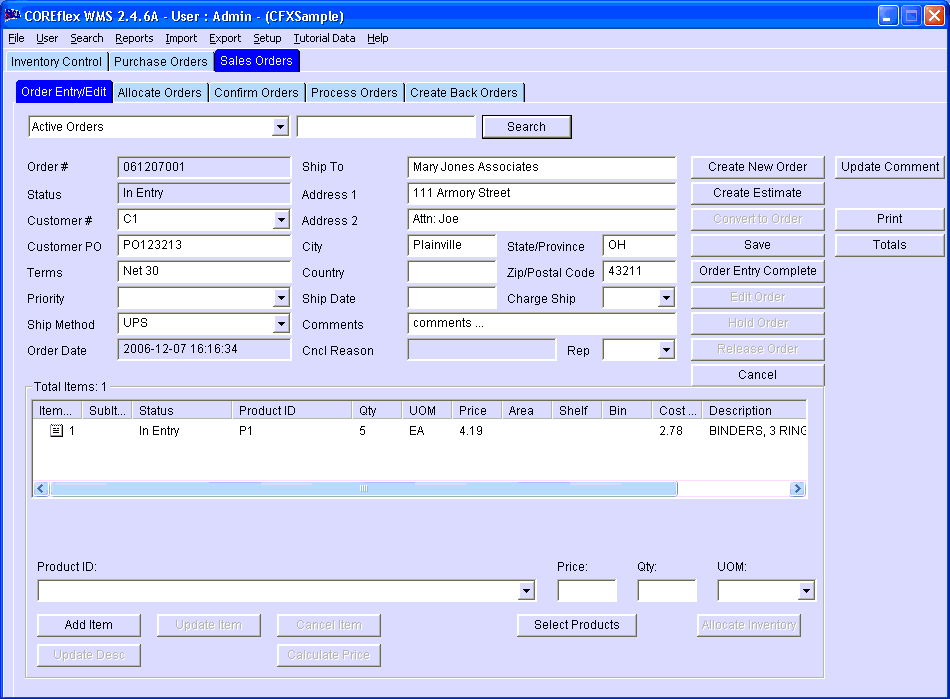
- Another way to add products is to press the Select Products button.
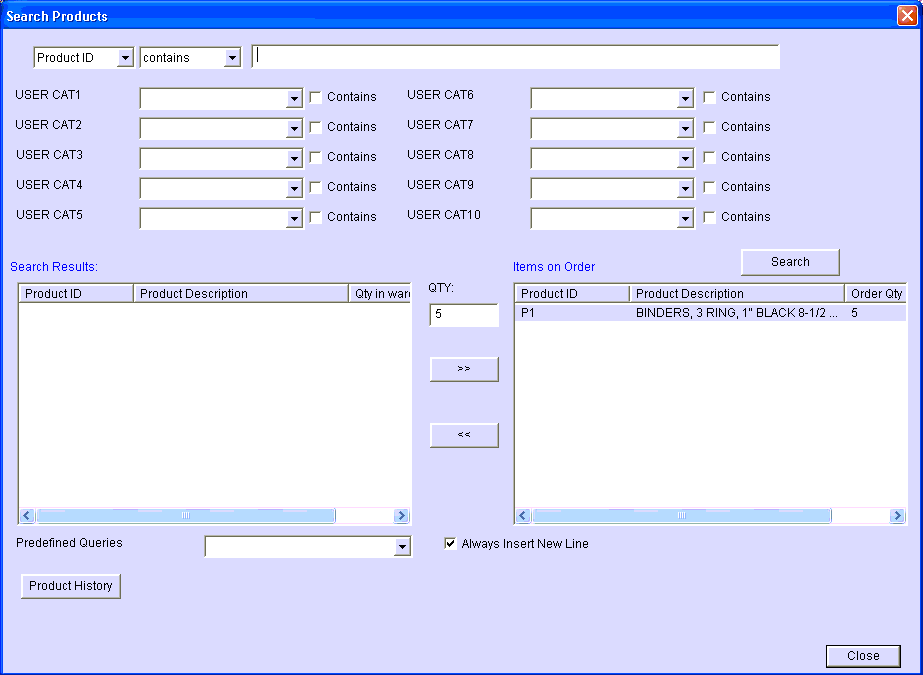
- Products can be searched in a variety of ways from this screen. For this example, select Description in the upper left drop-down and then type "staple" in the edit field to the right and press the Search button. The products that match the search will appear in the left hand list.
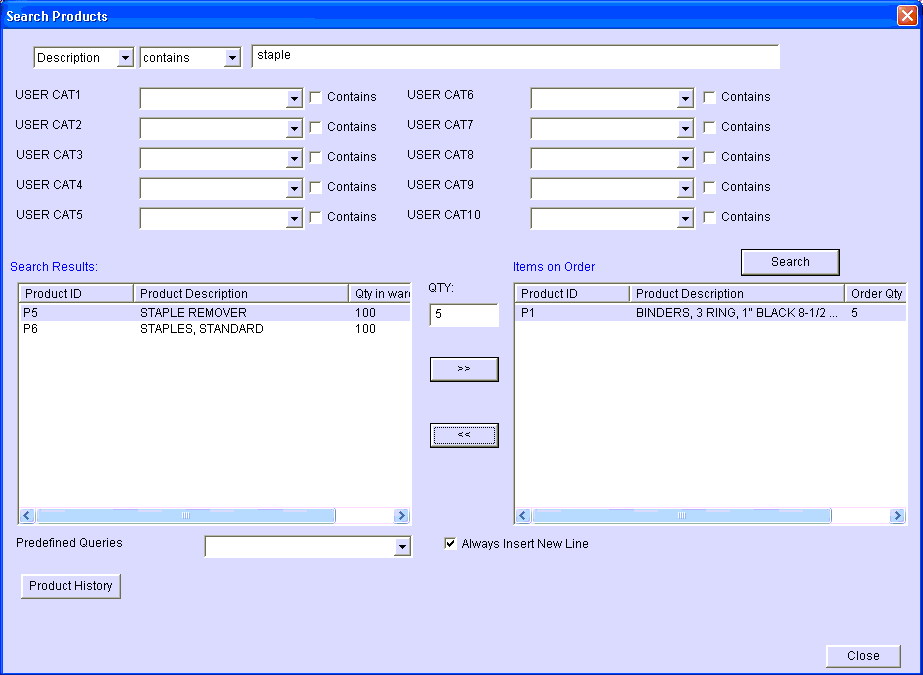
- Now type 3 in the QTY field and press the >> button. The selected product in the left hand window will be added to the list of items in the sales order (shown in the right hand window).
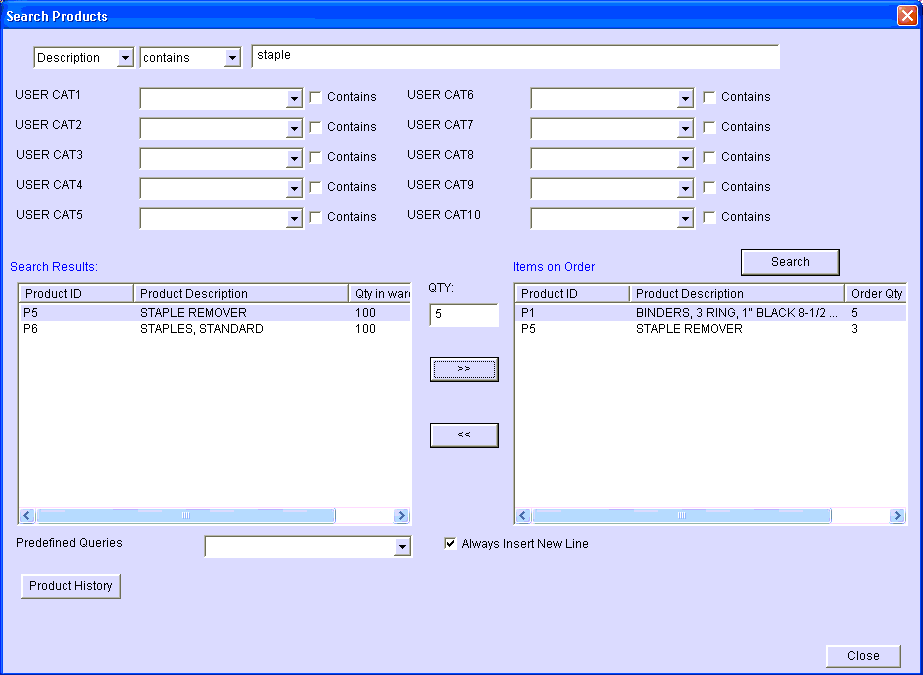
- The product has been added to the sales order. If we had more products to add to the order we could repeat these steps, but for now, just hit Close. And then hit Order Entry Complete on the Order Entry/Edit screen.
Allocation
- Click on the Sales Orders->Allocate Orders->Single Order tab.
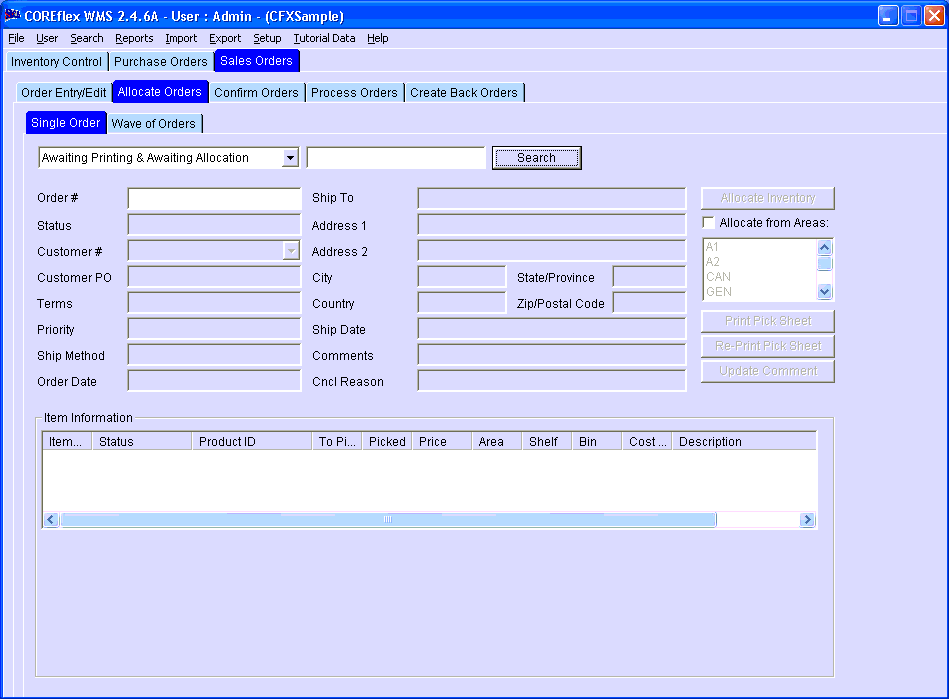
- Either type the order number into the Order # field and press enter, or press the Search button and then double-click on the order we just enterred. The order information will be displayed.
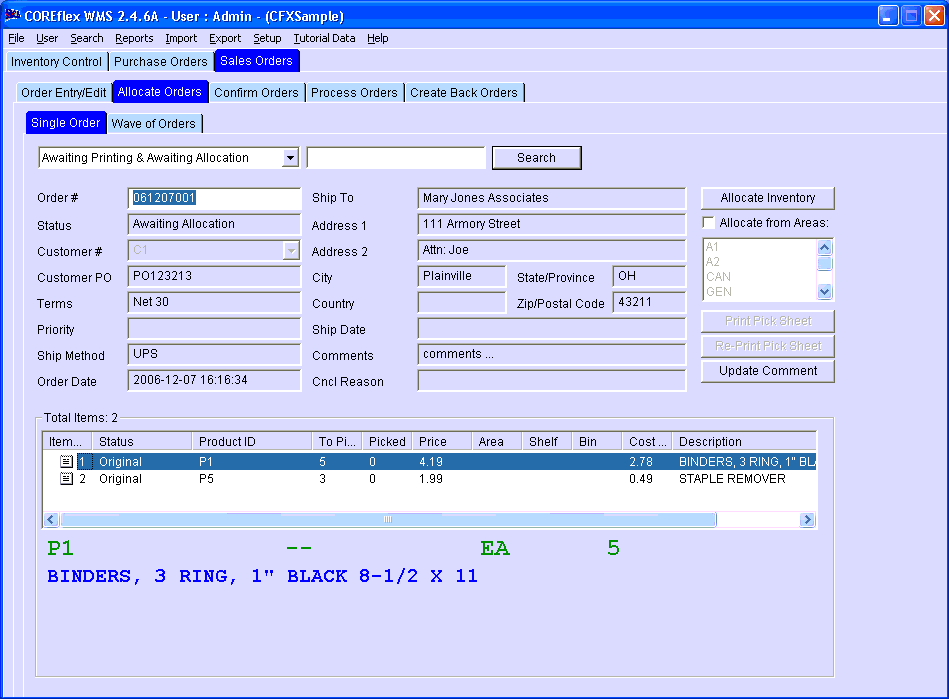
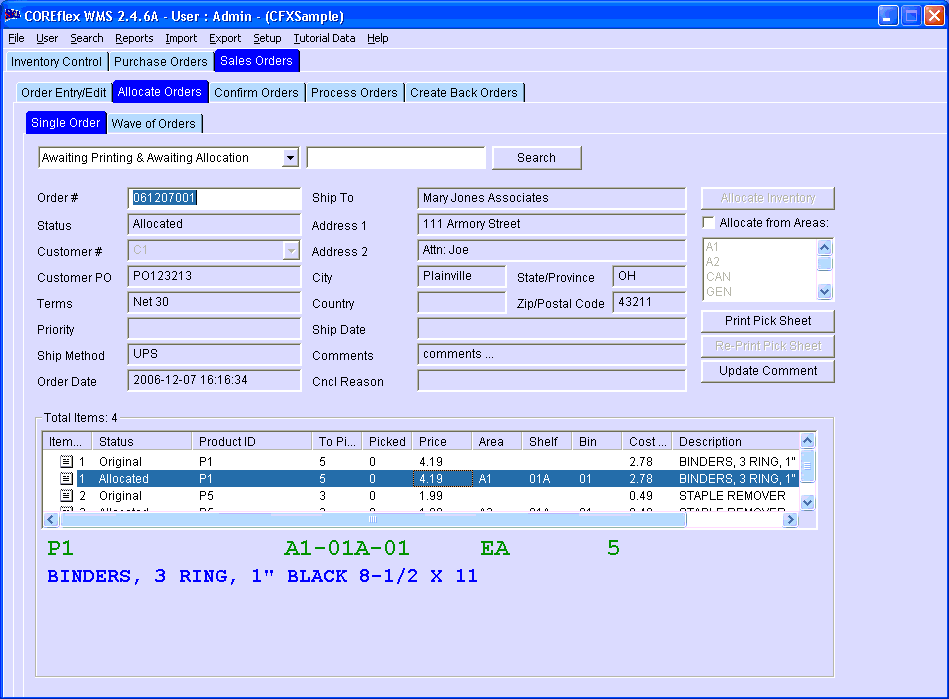
- Click on the Allocate Inventory button. Coreflex will find inventory for each item on the sales order and create new lines in the order for each pick. A summary screen is displayed. Once Ok is clicked, these new lines will be displayed in the list in the middle of the screen.
Picking
- Click on the Sales Orders->Confirm Orders tab.
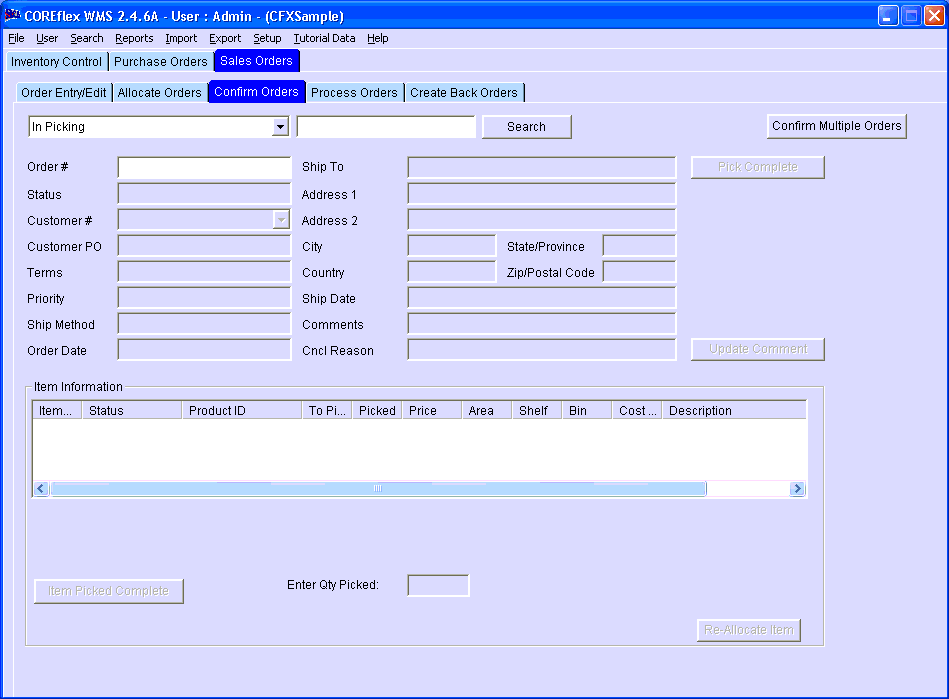
- Either type the order number into the Order # field and press enter, or press the Search button and then double-click on the order we just enterred. The order information will be displayed.
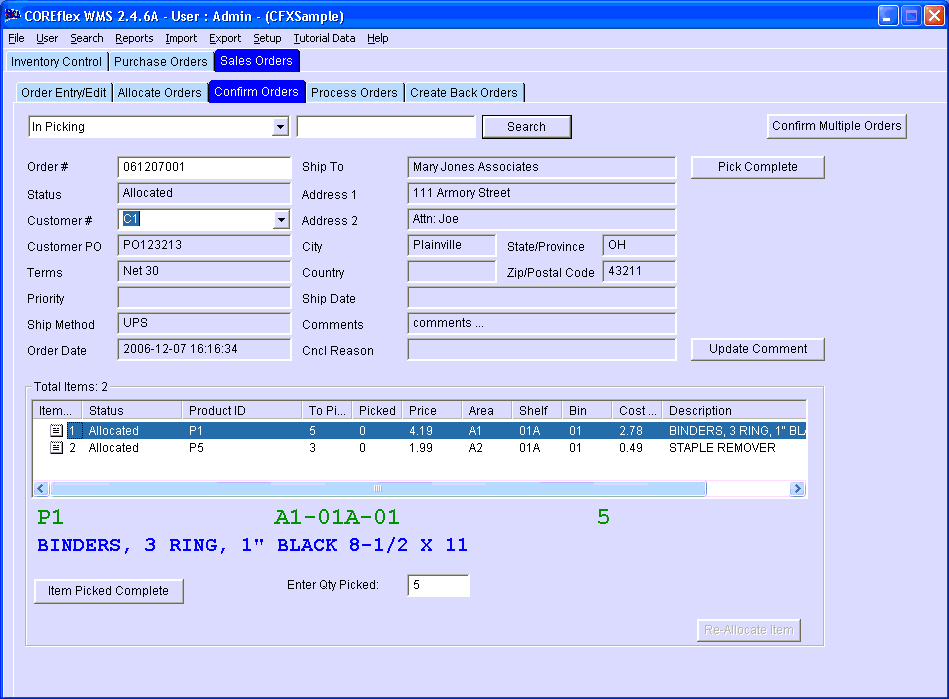
- We will now pick the first item. Most of the time, we will want to pick the quantity that Coreflex suggests for the location. But, if we wish to pick less than the quantity that Coreflex suggests, we can select the line, and type the quantity that we actually picked in the Enter Qty Picked entry field and then hit Item Picked Complete. The Picked quantity in the middle list will update to reflect the quantity that we have picked.
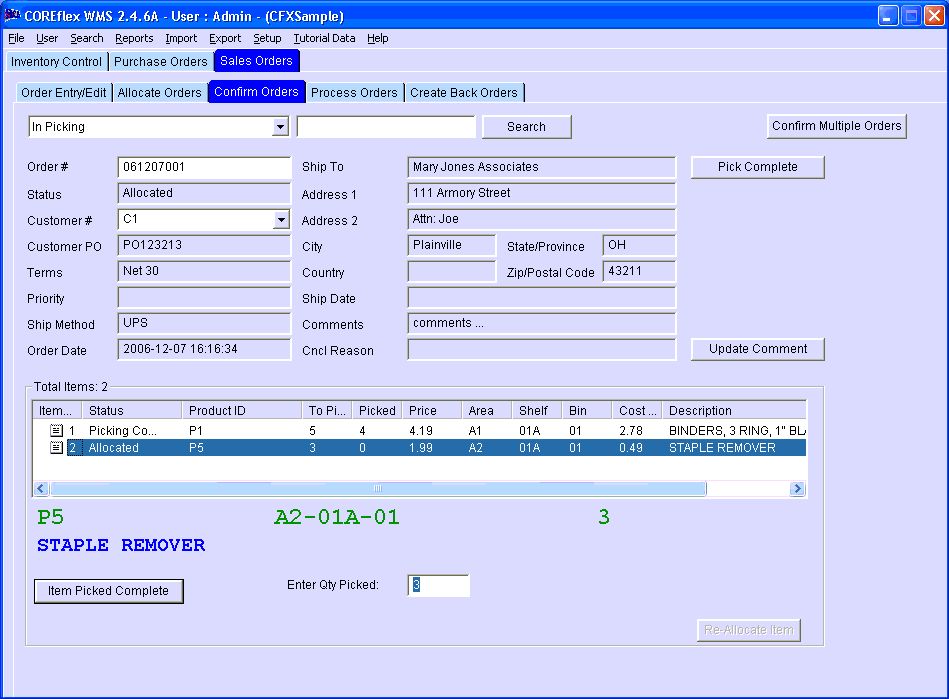
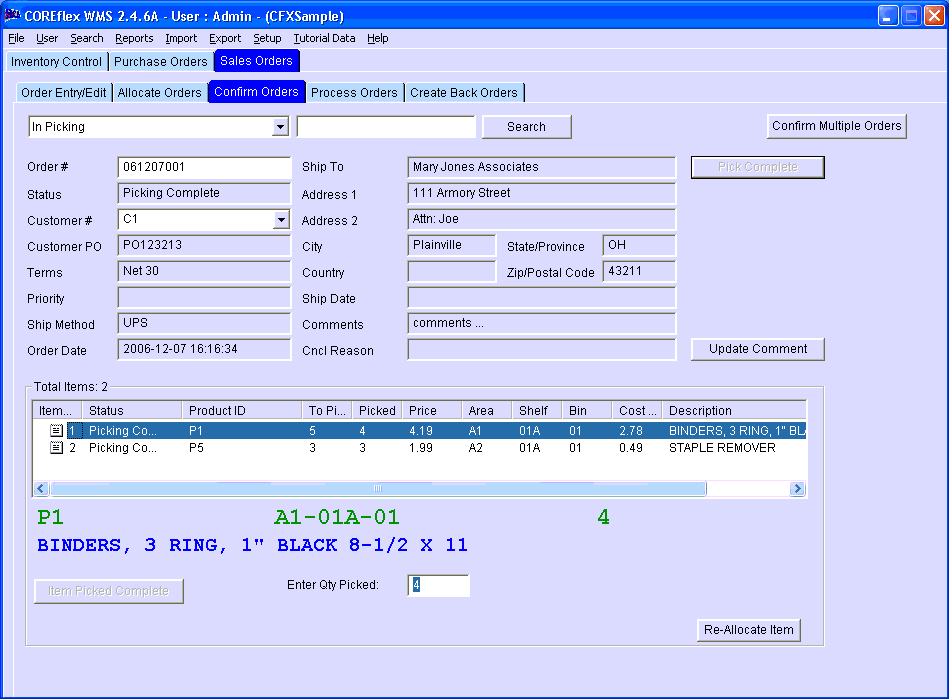
- Once we have enterred any quantities that are different than what Coreflex is suggesting, we can tell Coreflex to automatically pick the suggested quantities for the remaining lines in the order by pressing the Pick Complete button in the upper right.
Shipping
- Note: Once an order is shipped, if the quickbooks interface is on, it will be queued to send to Quickbooks. If you are not using Quickbooks, go to the System Configuration screen and set "QuickBooks: Create Invoice for Coreflex Orders" to No, and restart Coreflex before doing this step.
- Click on the Sales Orders->Process Orders tab.
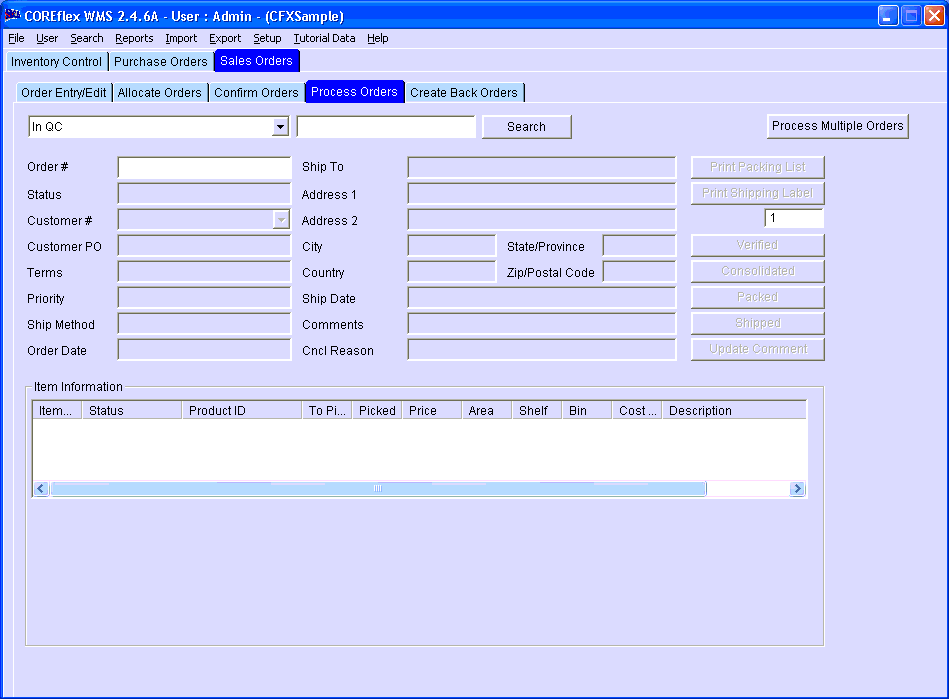
- Either type the order number into the Order # field and press enter, or press the Search button and then double-click on the order we just enterred. The order information will be displayed.
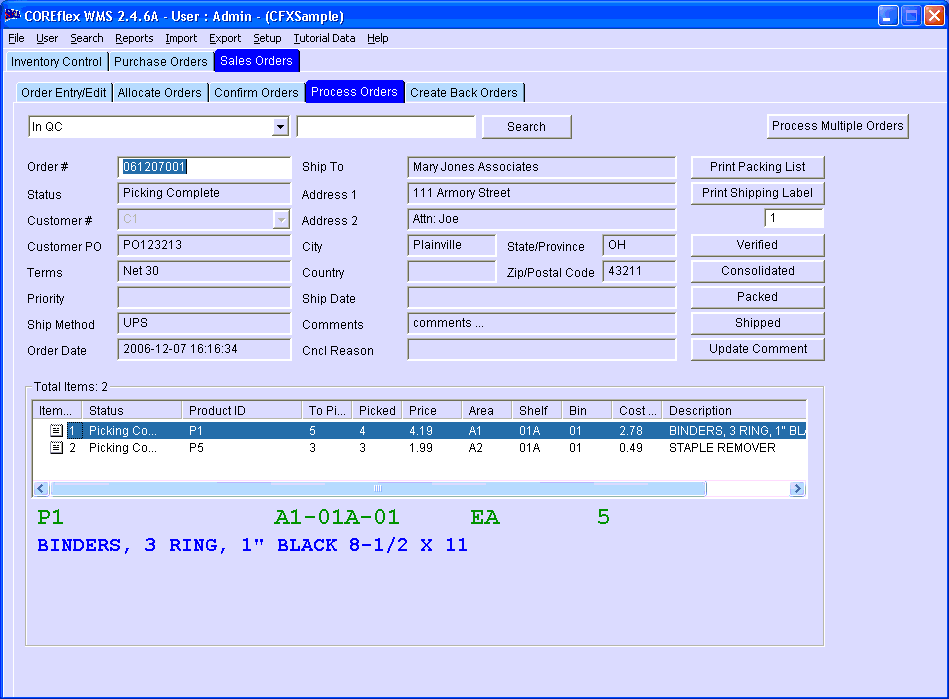
- A packing list can be printed by clicking Print Packing List, if desired.
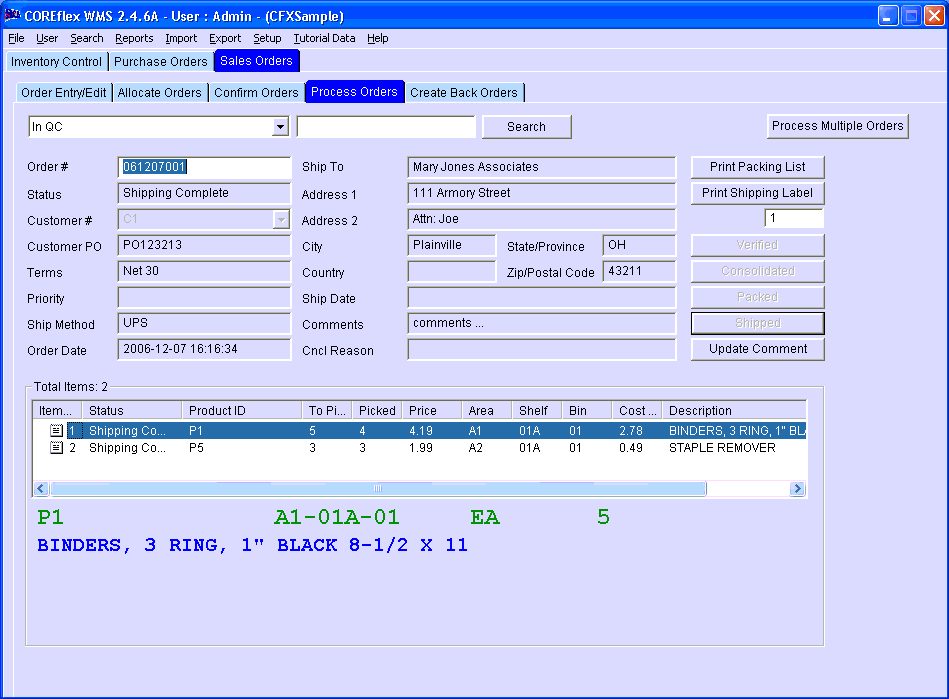
- Once the order is shipped, click on the Shipped button to ship the order.
Creating a Quickbooks Invoice
- If creating invoices for Coreflex orders is on (see the step 1 in Shipping), the order is now ready for quickbooks. Follow the instructions in the Quickbooks Interface section for how to set up the quickbooks interface and create an invoice.
Creating a Backorder
- Click on the Sales Orders->Create Back Orders tab.
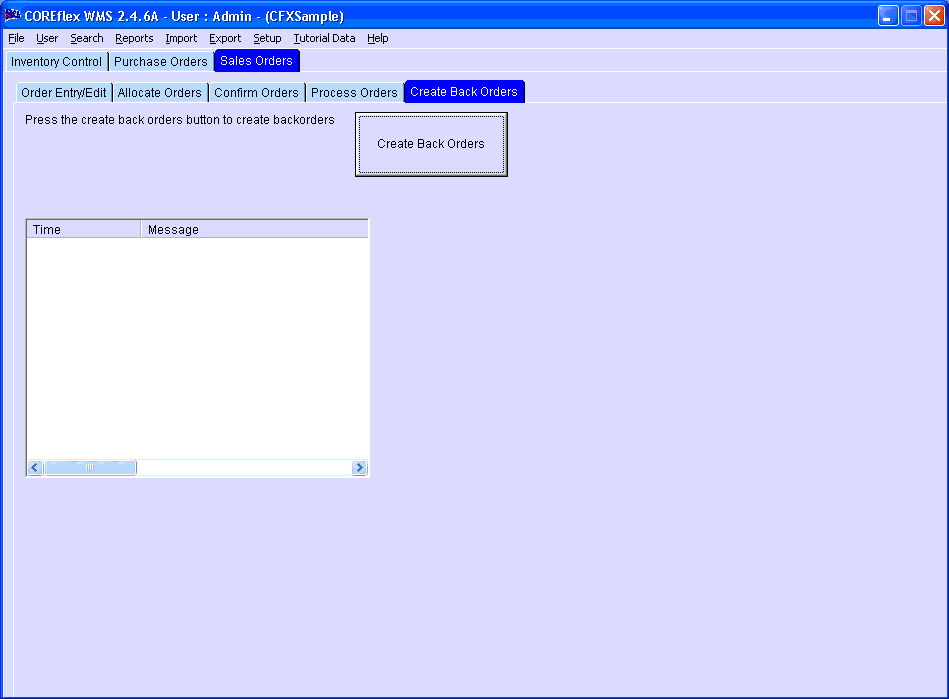
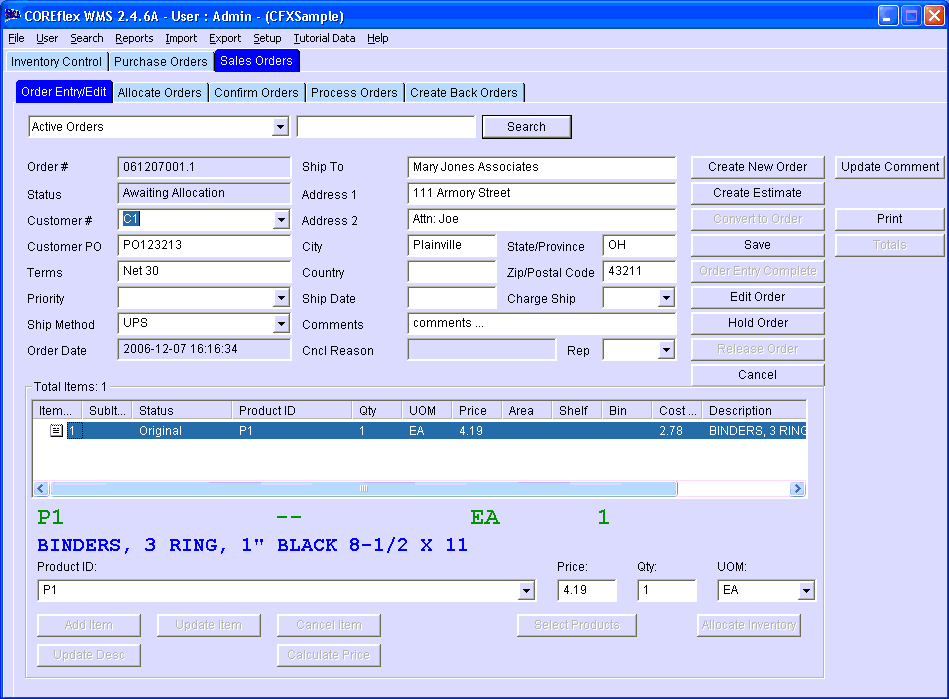
- Click on the Create Back Orders button. Since we only shipped 4 out of 5 of the first line of the order, a new backorder will be created with the remaining quantity of 1 with a ".1" added to the end of the order number to show that it is a backorder. If the order was completely shipped, no backorder would be created. This new backorder can be viewed on the Sales Orders->Order Entry/Edit screen just like any other sales order.
Created using Helpmatic Pro HTML


