Inventory Control Flow

The following example illustrates how to view, move and adjust inventory.

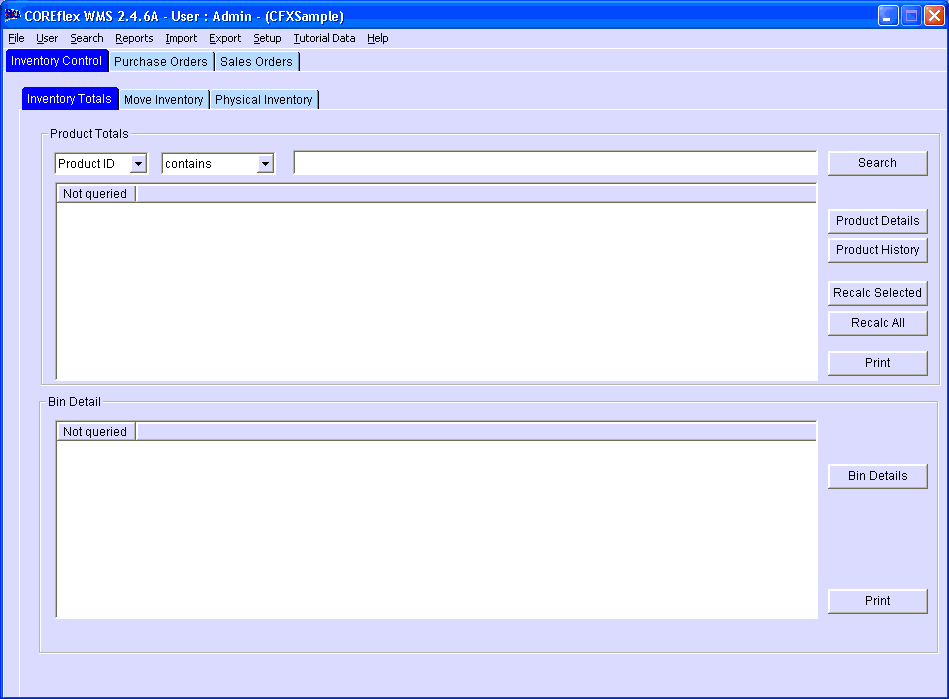
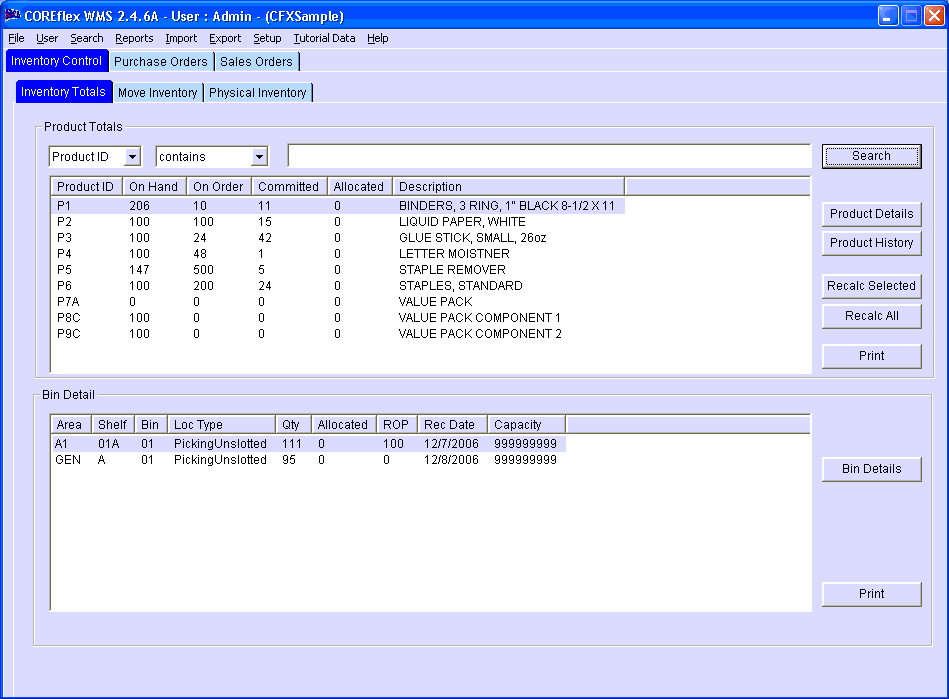
View Inventory (Inventory Control->Inventory Totals tab)
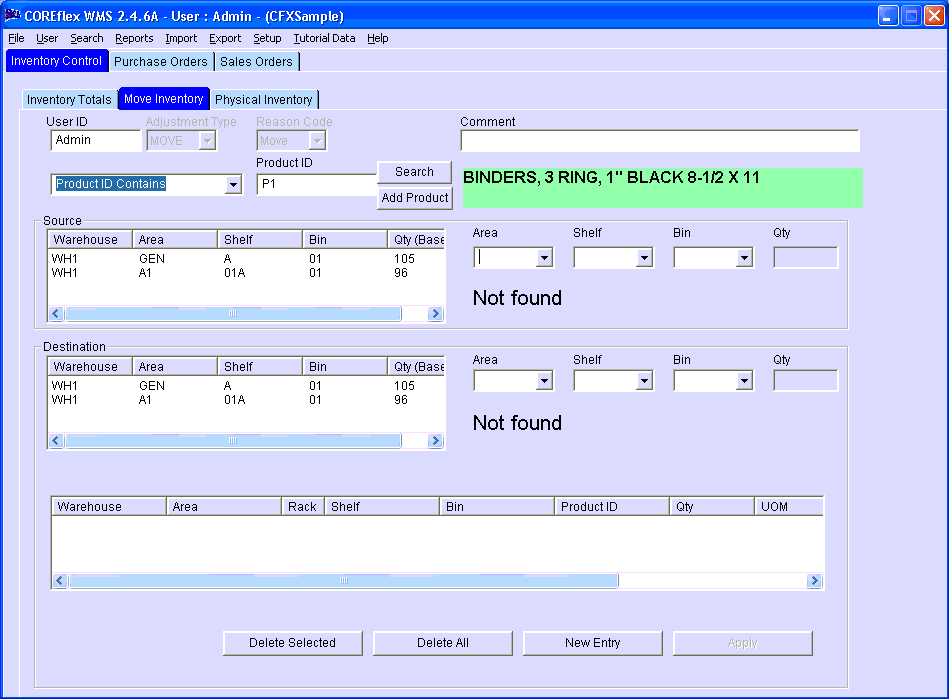
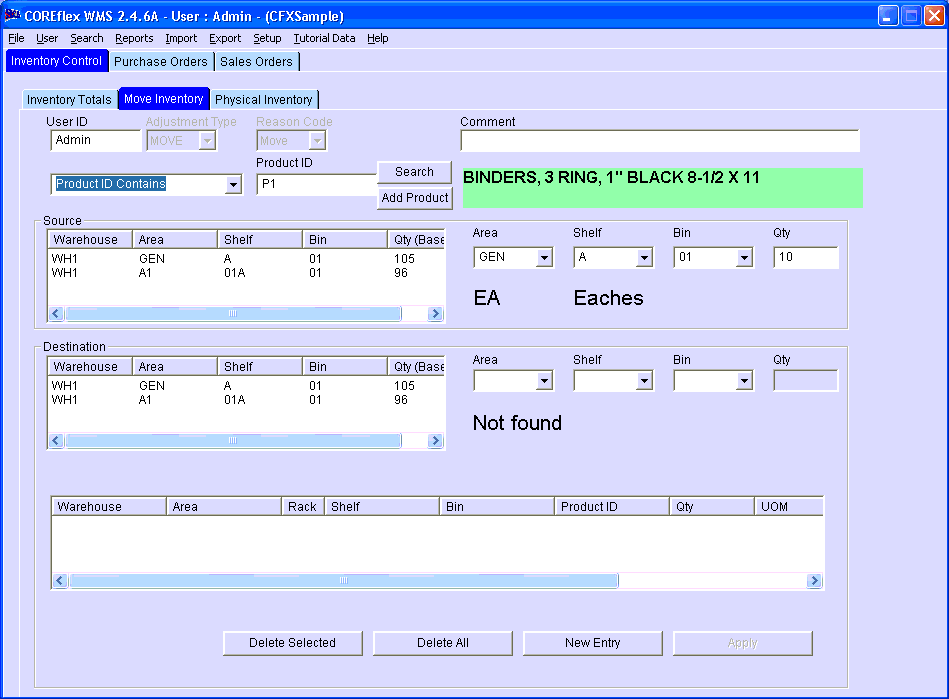
Move Inventory (Inventory Control->Move Inventory tab)
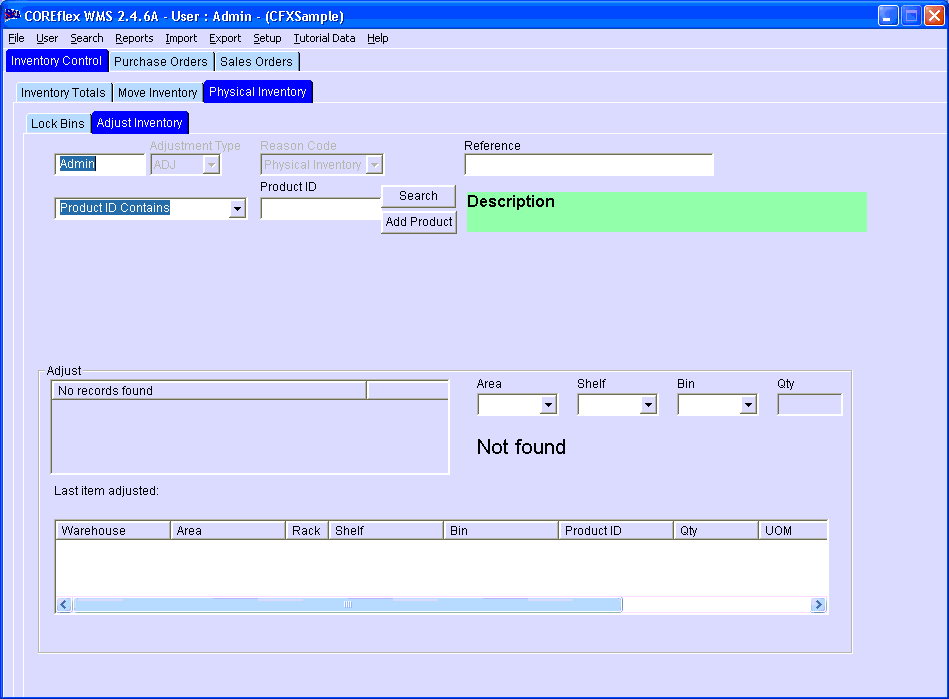
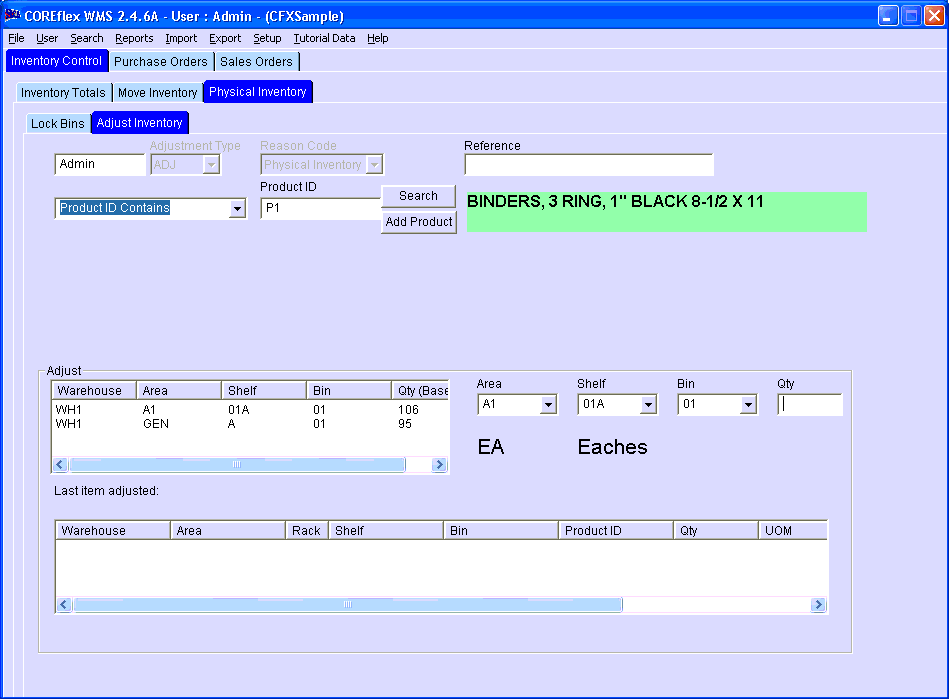
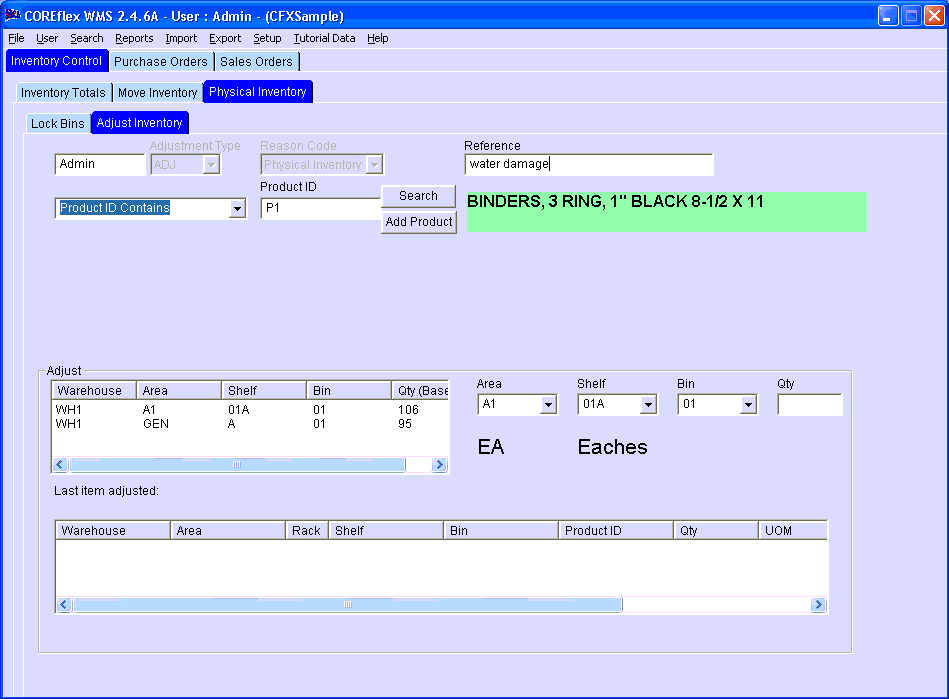
Adjust Inventory (Inventory Control->Physical Inventory->Adjust Inventory tab)

View Inventory (Inventory Totals)

  1. Click on the Inventory Control->Inventory Totals tab.
  2. The spin box and entry field at the top of the screen can be used to limit the search results.  To see the inventory levels for all products in Coreflex, just hit Search without enterring any information in those fields.  For each product, the current quantity on hand (On Hand), the quantity on purchase orders (On Order), the quantity on sales orders that has not been allocated (Committed), and the quantity allocated (Allocated) are displayed.
  3. Clicking on a product in the top list displays a break-down by location for that product.  The following buttons can be used to view or change some of this information:

Product Details:  Shows the product information for the product that is selected in the upper list.  Also allows this information to be changed.

Product History:  Shows the product history for the product that is selected in the upper list.  Also allows this information to be changed.

Bin Details:  Shows the bin information for the location that is selected in the lower list.  Also allows this information to be changed.

Move Inventory

  1. Click on the Inventory Control->Move Inventory tab.
  2. Type the Product ID in the Product ID entry field and press enter, or click Search and double-click on the product you wish to move from the list.
  3. Either click on the source location in the list under Source, or select the location using the spin boxes to the right of that and then enter the quantity to move to the right of the source location in the Qty entry field.
  4. Either click on the destination location in the list under Destination, or select the location using the spin boxes to the right of that and then enter the quantity to move to the right of the source location in the Qty entry field and then press enter.
  5. Press the Apply button to confirm the move.

Adjust Inventory

  1. Click on the Inventory Control->Physical Inventory->Adjust Inventory tab.
  2. Type the Product ID in the Product ID entry field and press enter, or click Search and double-click on the product you wish to adjust from the list.
  3. Click on the location you wish to adjust below Adjust or select the location using the spin-boxes to the right of that.
  4. Enter an option reference code or reason for the adjustment in the Reference entry field.  This value will display on the inventory history reports.
  5. To reduce inventory, type a negative number into the Qty entry field and hit enter.
  6. To increase the quantity for a location, follow the same steps, but enter a positive quantity in the Qty field.


Created using Helpmatic Pro HTML